13th June 2024
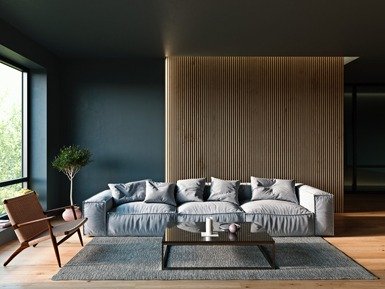
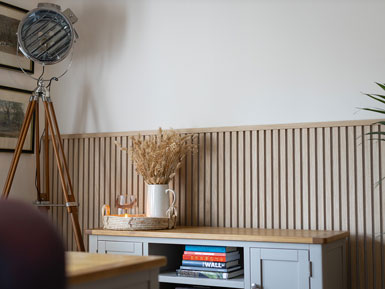
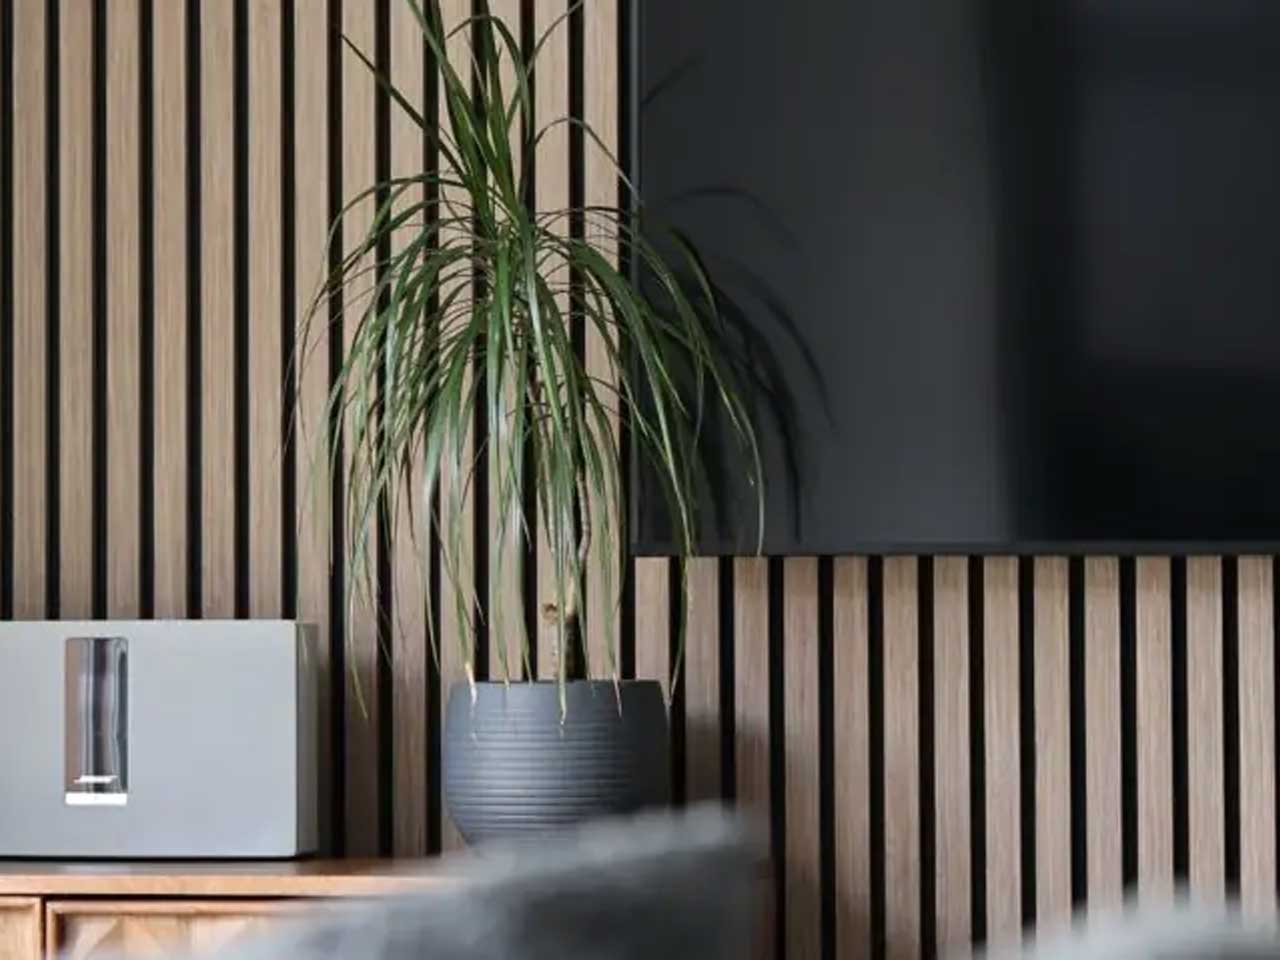
Slat walls are a fantastic way to add style and personality to any room. Here at The Wall Exchange, we offer a variety of slat wall colours and lengths to suit your needs perfectly.
In this DIY guide, we’ll walk you through the simple process of installing your very own slat wall panels, all by yourself! So grab a tape measure, and let’s get started!
The first step to any successful DIY project is getting the right measurements. Grab your trusty tape measure and determine the exact dimensions of the wall where you’d like to install your slat wall panels. Don’t forget to account for any windows, doors, or electrical outlets that might be in the way.
Once you have your measurements, order your slat wall panels! We offer a wide variety of slat wall colours and lengths to match your vision. Use the measurements you took in step 1 to order the exact amount of slat wall panels you’ll need.
While our slat wall panels come in various lengths, you might need to make a slight adjustment to ensure a perfect fit on your wall. If this is the case, grab a pencil and straightedge to mark the exact cutting line on the slat wall panel. Here at The Wall Exchange, we recommend using a fine-tooth saw to ensure a clean and precise cut.
Now comes the fun part – attaching your slat walls!
Apply a generous amount of adhesive to the back of one panel at a time. Carefully position the panel on the wall, ensuring it’s level, and press firmly to secure it. Repeat this process for each slat wall panel until your entire wall is covered.
Top tip: if you want to hold your panels in place whilst the adhesive sets just put some screws in and then remove them after the adhesive has set.
Carefully position the panel on the wall, ensuring its level, before securing the panel in place with the screws provided within your order.
You can also use a combination of adhesive and screws to further secure the slat wall panels to the wall. This is completely optional, but if you’re planning on hanging heavy items on your slat wall, then using a nail gun might be a good idea.
Congratulations! You’ve successfully installed your slat wall panels. Now comes the best part – decorating and organising your space! With its sleek design and functionality, slat walls offer endless possibilities. Hang baskets, shelves, hooks, or any other slat wall-compatible accessories to create a space that’s both stylish and functional.
Ready to get started? Browse our selection of slat wall panels and find the perfect fit for your next DIY project!
Wall panels made easy! Super quick and easy to put up, lovely back office staff that helped with everything we needed.
Extremely happy with the service we had from TWE, super lovely team and looks great in our home now it’s all up!
Ordering was very simple, easy to put up and product looks brill. Highly recommended.
Me and my partner bought the Wallnut finish and it looks absolutely stunning in our new kitchen. Mega easy to put up too!
Their service, delivery times, product quality and after sales support are second to none.
Excellent quality wall panels. Really hardy and look great in our cinema room.
Top customer service, top product, 5 star all around!
We made our first order over Christmas for our bathroom and were over-joyed with the product quality and ease of putting them up.
Brilliant customer service and really easy and enjoyable to install!
 Pay in 3 with Klarna
  Made To Last